Picture this. You finish a big report at work. Then, one wrong click, and it’s gone. Or maybe a family photo disappears after you tidy up your desktop. Files vanish fast because you move them without thinking. You empty the trash too soon. Or they hide in system folders you never check.
These moments frustrate anyone. But you can fix it quick. This guide shows simple steps for Windows 11, macOS Sequoia, and Ubuntu or Fedora users. You’ll learn built-in searches first. Then secret spots. Free tools come next for tough cases. Finally, habits to stop it from happening again.
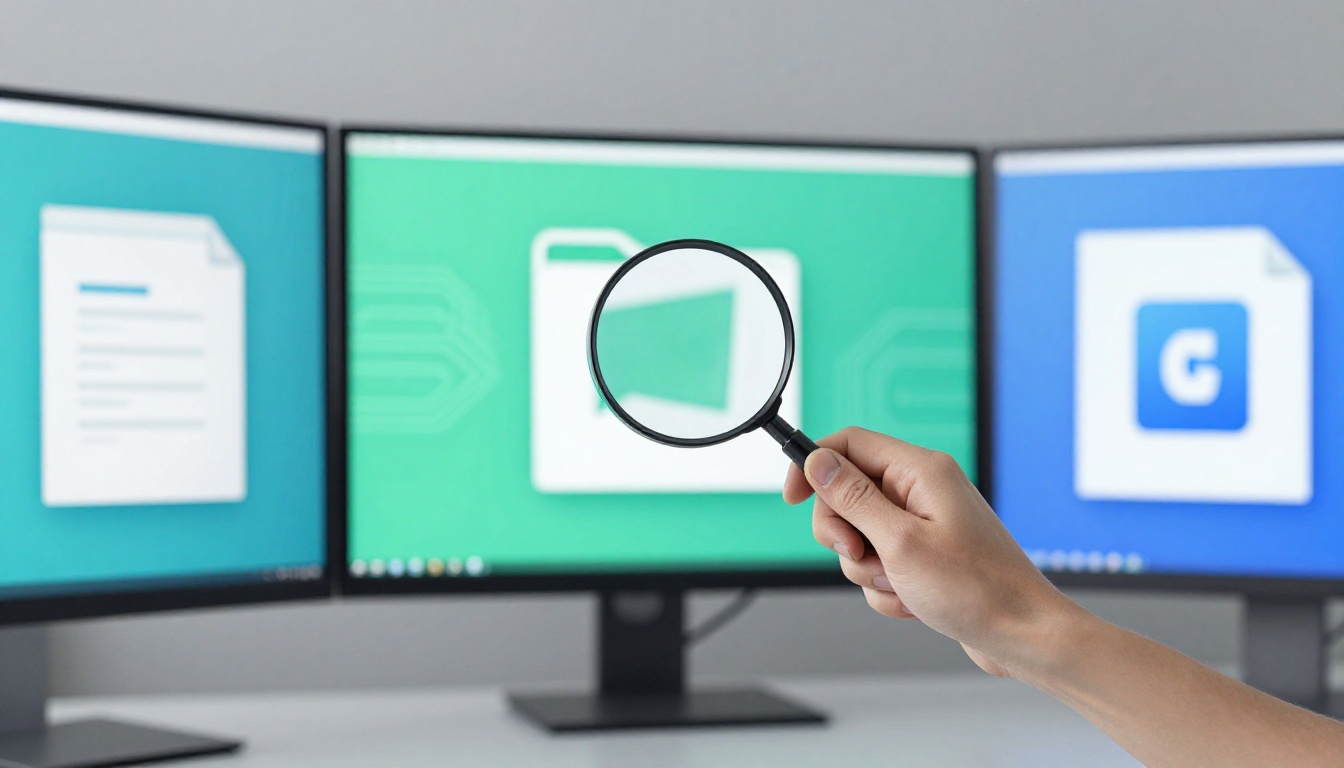
Stick with me. We’ll cover shortcuts that work in seconds. No tech skills needed. You get your files back today.
Kick Off with Built-in Search Tools That Work Instantly
Start here every time. Your OS has fast search features. They beat digging through folders. Use keyboard shortcuts to save time.
Press a key combo. Type the file name. Add filters for better results. These tools index your drive. So they find matches quick.
For example, exact names work with quotes. Size or date narrow it down. Let’s break it by OS.
Windows Shortcuts to Spot Files Everywhere
Open File Explorer with Win + E. Hit the top-right search box. Type “report.docx” for basics.
Add operators for power. Try kind:document to see only docs. Or size:>10MB for big files. datecreated:2026 pulls last year’s work.
Start menu search shines too. Press Win + S. It scans apps and files fast.
Always check Recycle Bin first. Right-click it in the taskbar. Restore if you spot your file there.
These tricks work because Windows indexes common spots. For more on operators, check this complete guide to Windows 11 File Explorer search syntax. You find files in under a minute.
Mac Spotlight and Finder Tricks for Quick Wins
On macOS Sequoia 15.3.2, hit Cmd + Space for Spotlight. Type your file name. It shows results right away.
For deeper hunts, open Finder. Press Cmd + F. Use kind:pdf or created:>=2026-01-01. size:>5m filters large ones.
Spotlight grabs from everywhere. Including apps and emails. Switch to Finder for folder views.
Don’t forget Trash. Click it in the Dock. Drag files back out.
These methods index your whole Mac. So results pop fast. See these 10 tips for Spotlight file searches for extra speed.
Linux Commands That Search Your Whole System Fast
Ubuntu 26.04 LTS or Fedora 42 users love Nautilus. Open Files app. Press Ctrl + F. Type names or kind:document.
For speed, use terminal. First, update locate database with sudo updatedb. Then locate filename. It scans an index quick.
Or try find for power. Run find /home -name “*.jpg” for images. Add -size +10M -mtime -30 for recent big files.
Check Trash too. Use trash-list to see contents. Restore with trash-restore.
Terminal beats GUI for full drives. Because it ignores limits. Learn more from this tutorial on find and locate.
Built-in tools recover most files. Now check hides if nothing shows.
Hunt in Secret Folders Where Files Love to Hide
Basic search misses spots sometimes. Files sneak into system areas. Or apps move them quiet.
Enable hidden files first. This shows everything. Then peek in key folders.
On Windows 11, view hidden items in File Explorer. Go View tab. Check “Hidden items”. Hit $Recycle.Bin on C: drive. Or C:UsersYourNameAppData. OneDrive Recycle Bin sits online too.
Mac users open Finder. Press Cmd + Shift + G. Type ~/.Trash or ~/Library. iCloud files hide in ~/Library/Mobile Documents.
For Linux like Ubuntu 26.04, enable hidden with Ctrl + H in Nautilus. Check ~/.local/share/Trash. Peek at /lost+found or /tmp.
Go slow here. Don’t delete extras. Copy finds to Desktop instead.
These spots hold temp files or crashes. You grab them safe. Most losses end here.
Grab Free Tools for Deep Scans When Basics Aren’t Enough
Built-ins fail on deleted or overwritten files. Free apps dig deeper. They scan raw drives.
Pick based on OS. Download from official sites only. Run quick scans first.
TestDisk and PhotoRec work everywhere. No install needed. Boot from USB to avoid overwrites. TestDisk fixes partitions. PhotoRec grabs 480+ file types blind. Great for photos or docs.
On Windows 11, grab Recuva. It previews deletes fast. Disk Drill free version recovers up to 500MB. Both show before save.
Mac Sequoia loves Disk Drill free. Simple GUI scans HFS+ or APFS. TestDisk backs it for partitions.
Linux sticks with TestDisk/PhotoRec. Or foremost for carved files. No limits.
| Tool | Best For | Limit | Ease |
|---|---|---|---|
| Recuva | Windows quick deletes | Unlimited | Beginner |
| Disk Drill | Mac/Windows previews | 500MB free | Easy |
| PhotoRec | All raw recovery | Unlimited | Terminal |
Recover to another drive always. Stop using the bad disk right away.
Pros: Free and safe. Cons: Slower on big drives. Use when built-ins flop. Check TechRadar’s 2026 free recovery picks for updates.
These tools save hours. Pick one now.
Smart Habits to Recover Safely and Never Lose Files Again
Act fast on loss. Pause all disk writes. Unplug externals if needed.
Backup rules all. Windows users set OneDrive auto-sync. Macs run Time Machine to external. Linux? Rsync folders daily or Deja Dup GUI.
Name files clear. Add dates like “report_2026-04-01.docx”. Search gets easier.
Build search muscle. Use shortcuts daily. Check Recycle/Trash first always.
One mantra: Search, hides, tools, backup. Repeat it.
Try this today. Pick Time Machine setup. Or test Spotlight. You stay ahead.
Quick Recap and Your Next Move
You now know fast searches for any OS. Built-in shortcuts find most. Secret folders catch hides. Free tools like Recuva or PhotoRec handle deletes. Backups prevent pain.
Anyone grabs lost files with these steps. No panic needed.
Bookmark this for next time. Share if it helped a buddy. Drop a comment on your win. What’s your go-to tool? Check backup guides too. You’ve got this.